How to Create Easy & Beachy Waves this Summer
Blog
The Perfect Summer Hairstyle with Haircare & Body with Crystal
Welcome to Haircare & Body with Crystal, your go-to resource for all things hair and beauty. In this comprehensive guide, we will show you how to create easy and beachy waves that are perfect for the summer season. Whether you have short or long hair, these effortless waves will add a touch of glamour to your look. Let's dive into the step-by-step process!
Step 1: Prepare Your Hair
Before you start styling your hair, it's important to prepare it for heat styling. Begin by washing your hair with a hydrating shampoo and conditioner to ensure it's well-nourished. Once you've towel-dried your hair, apply a heat protectant spray to shield it from potential damage caused by hot styling tools.
Step 2: Section Your Hair
Divide your hair into manageable sections using hair clips or bands. This step will make the curling process easier and ensure that every strand of hair is evenly styled. Make sure to start from the bottom sections and work your way up.
Step 3: Choose the Right Curling Iron
The curling iron you choose will greatly affect the outcome of your beachy waves. Opt for a curling iron with a larger barrel size, around 1-1.5 inches, to achieve loose and natural-looking waves. Additionally, consider using a ceramic or tourmaline curling iron, as they provide even heat distribution and reduce the risk of hair damage.
Step 4: Curling Technique
Start by taking a small section of hair and wrap it around the curling iron, holding it in place for a few seconds. Remember to curl away from your face for a more flattering and effortless look. Repeat this process for each section of hair, ensuring that you curl in different directions to create dimension and texture.
Step 5: Texturize with Sea Salt Spray
After curling your hair, spritz a sea salt spray throughout your locks to achieve that desirable beachy texture. Gently scrunch your hair using your fingers or a wide-toothed comb to enhance the waves and add volume. This step will give your hair that effortless and tousled look you've been dreaming of.
Step 6: Set the Waves
To ensure that your beachy waves last all day, it's important to set them with a flexible hold hairspray. Lightly mist your hair, focusing on the mid-lengths and ends, to keep the waves in place without sacrificing their movement and natural bounce.
Step 7: Final Touches
Complete the look by gently running your fingers through your hair to separate the curls and create softer waves. If desired, you can also add a small amount of hair serum or oil to tame any frizz and add extra shine.
Rock Your Beachy Waves
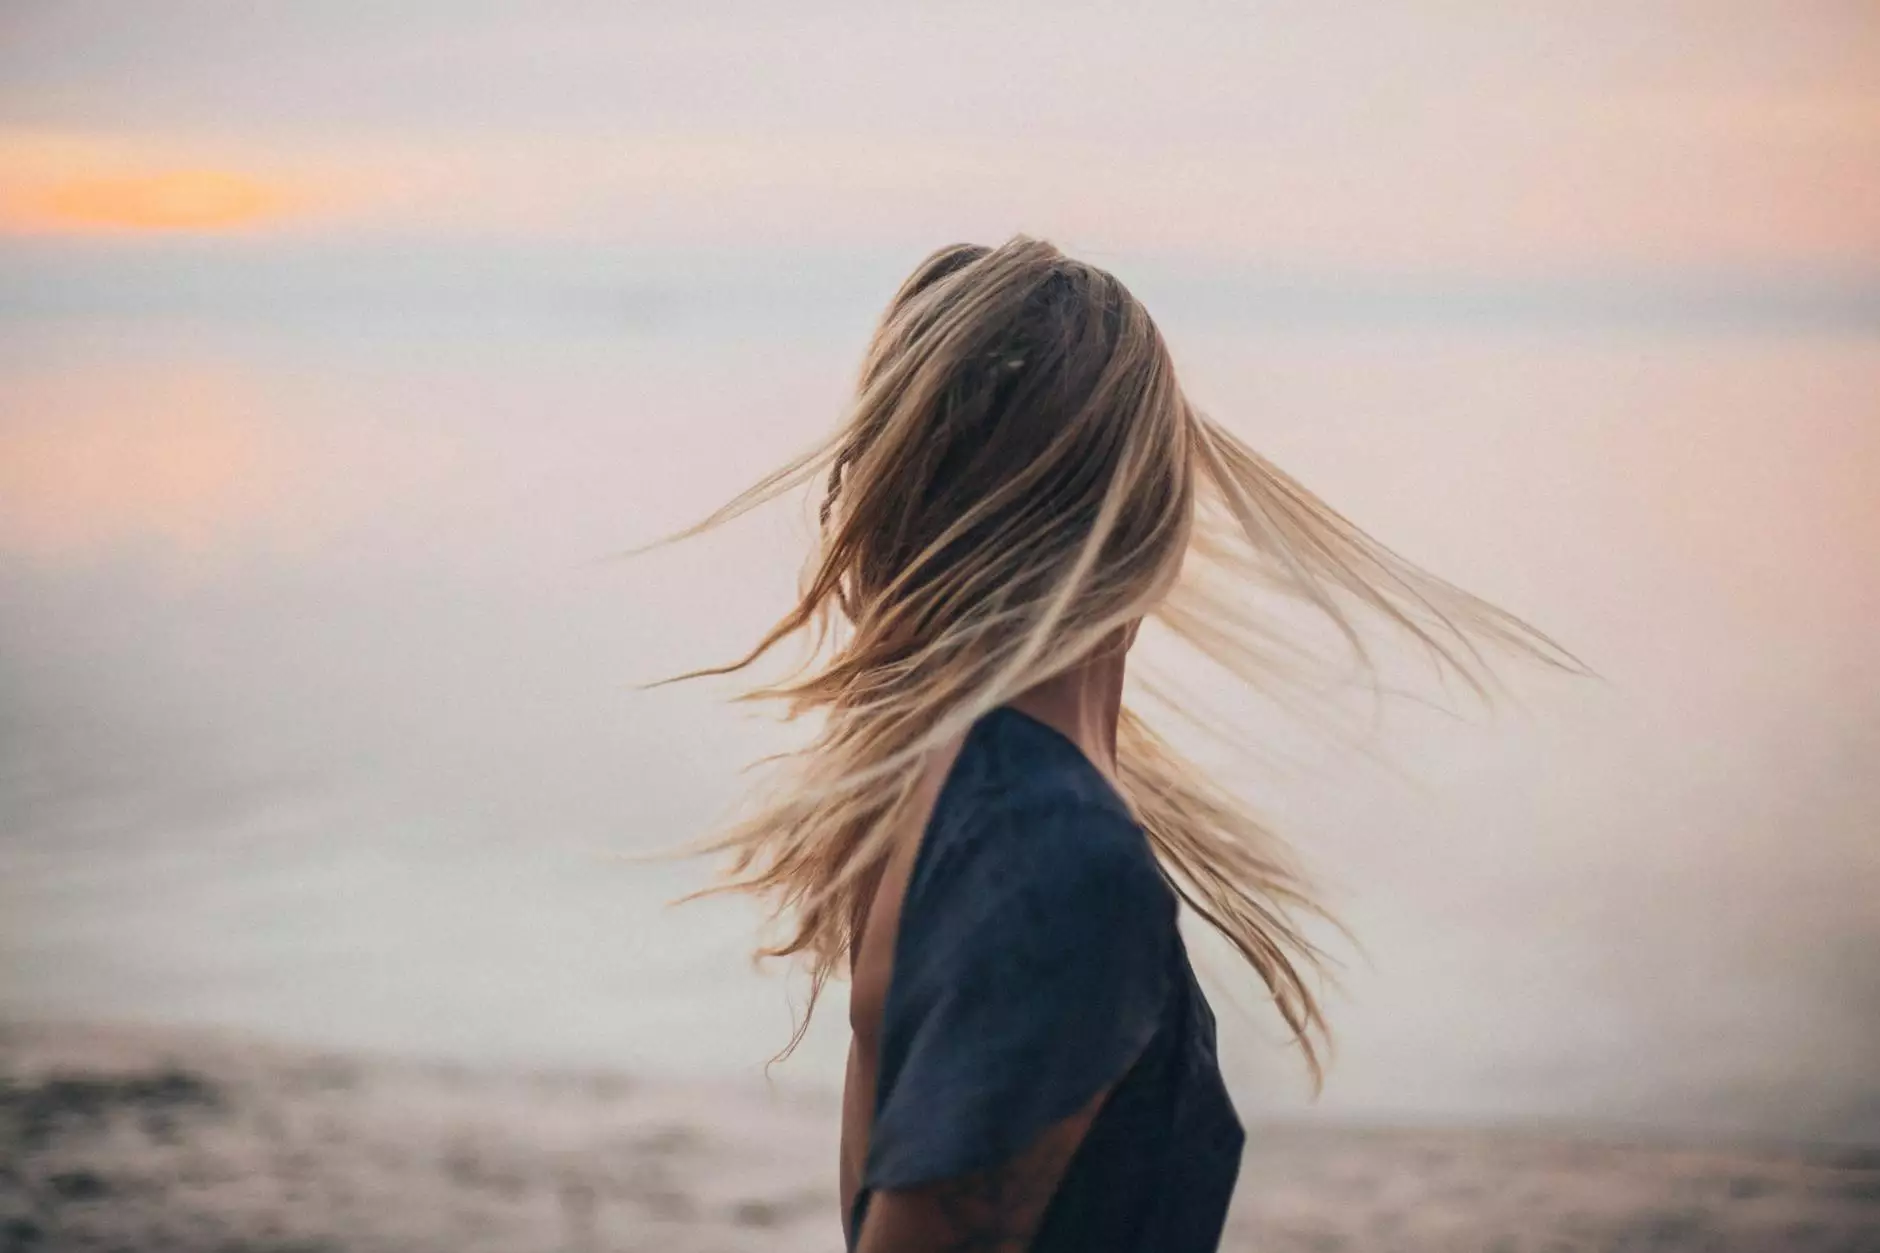
Now that you've mastered the art of creating beachy waves, it's time to embrace this effortless summer hairstyle. Whether you're attending a beach party, a casual outing, or a special event, these easy waves will elevate your style and make you feel like a true beach goddess.
Conclusion
Haircare & Body with Crystal hopes that this comprehensive guide has helped you learn how to create easy and beachy waves this summer. By following our step-by-step instructions and using the right products, you can achieve the perfect summer hairstyle that will turn heads wherever you go. Remember, practice makes perfect, so don't be afraid to experiment and find the beachy waves that suit you best. Enjoy the summer breeze and embrace your beautiful beachy waves!


